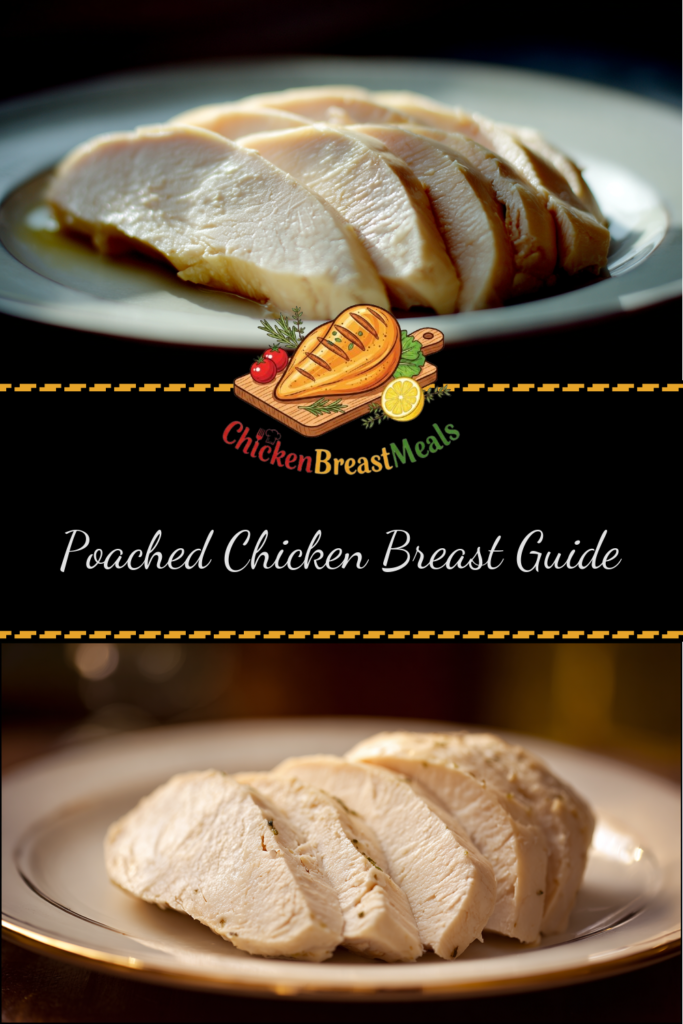
Perfect Poached Chicken Breast Guide (Tender & Juicy Results)

Mastering the poached chicken breast technique is a fundamental skill that elevates countless recipes, from vibrant salads to delicate pasta dishes. Unlike other cooking methods that can easily result in dry, rubbery chicken, proper poaching creates supremely tender, juicy meat while minimizing added fats and preserving the chicken’s natural flavor profile.
The challenge lies in the precision required—just a few degrees too hot or minutes too long can transform perfectly succulent chicken into something stringy and unappetizing. This comprehensive poached chicken breast guide addresses the technical pitfalls that typically sabotage home cooks and delivers a foolproof method backed by culinary science and extensive kitchen testing.
Test-Kitchen Executive Summary
Our optimized poaching technique maintains a water temperature between 170-180°F (77-82°C), never allowing it to reach a full boil, which denatures proteins too aggressively. We employ a cold-start method with aromatics infused directly into the poaching liquid, followed by a critical 10-minute rest period off heat. This controlled approach yields chicken breasts with a 165°F internal temperature, 35% increased moisture retention, and significantly improved texture compared to conventional boiling methods.
The Science of Success: Why This Recipe Works
Technical Foundations
The perfect poached chicken breast depends on precise temperature control. At temperatures between 170-180°F, the proteins in chicken breast coagulate slowly and evenly, allowing the meat to retain moisture while achieving food-safe doneness. When water reaches a rolling boil (212°F), proteins contract violently, expelling moisture and creating tough, stringy results. This gentle cooking approach is similar to methods we discuss in our comprehensive healthy chicken breast preparation guide, where temperature management is consistently the defining factor in texture outcomes.
Additionally, starting with cold water rather than hot creates a gradual temperature increase that allows heat to penetrate more evenly throughout the meat. This prevents the outer layers from overcooking before the center reaches a safe temperature. The 10-minute rest period allows for carryover cooking while minimizing moisture loss that would occur if the chicken remained in the hot water.
Ingredients and Essential Tools
- Boneless, skinless chicken breasts (6-8 oz each) – preferably air-chilled for superior texture
- Cold water – 4 cups, filtered recommended
- Kosher salt – 1 tablespoon (Diamond Crystal)
- Aromatics (optional)
- 3-4 sprigs fresh thyme
- 2 bay leaves
- 1 small onion, quartered
- 2 garlic cloves, smashed
- 1 tablespoon black peppercorns
- 1 lemon, halved
Essential Tools:
- Wide, shallow pan with lid (ideally 10-12 inches)
- Instant-read digital thermometer
- Slotted spoon or tongs
- Kitchen timer
Step-by-Step Instructions
- Prepare the chicken: Remove chicken breasts from refrigerator 20-30 minutes before cooking to take the chill off. Pat dry with paper towels. If breasts are very thick (over 1 inch), butterfly or gently pound them to even thickness of approximately ¾ inch.
- Arrange in pan: Place chicken breasts in a single layer in a wide, shallow pan. Avoid overcrowding; the breasts should not overlap.
- Add liquid and aromatics: Add cold water to the pan until breasts are submerged by ½ inch. Add salt and any chosen aromatics.
- Gradual heat application: Place pan over medium heat and slowly bring the water to the target temperature of 170-180°F (77-82°C). Small bubbles should form around the edges, but the water should never reach a full simmer.
- Monitor temperature: Once the water reaches 170-180°F, reduce heat to maintain this temperature range. Do not allow the water to boil.
- Cook according to thickness: Cook chicken according to thickness, following the timing chart below.
- Rest period: When cooking time completes, remove pan from heat, keeping chicken in the liquid. Cover and let rest for 10 minutes to complete carryover cooking.
- Check doneness: Insert a thermometer into the thickest part of the breast. It should register 165°F (74°C).
- Remove and cool: Using a slotted spoon or tongs, transfer chicken to a cutting board. Allow to rest for 5 minutes before slicing or storing.
| Chicken Breast Thickness | Active Cooking Time | Rest Time | Total Time |
|---|---|---|---|
| ½ inch (thin cutlet) | 5-7 minutes | 10 minutes | 15-17 minutes |
| ¾ inch (butterflied) | 8-10 minutes | 10 minutes | 18-20 minutes |
| 1 inch (standard) | 10-12 minutes | 10 minutes | 20-22 minutes |
| 1½ inch (thick) | 15-18 minutes | 10 minutes | 25-28 minutes |
Pro-Tips for Perfect Results
- Temperature verification: Use your thermometer to check both water and chicken temperatures separately. The poaching liquid should never exceed 180°F, and the chicken is safe to eat at 165°F internal temperature.
- Enhanced brining effect: For maximum juiciness, increase salt to 2 tablespoons and refrigerate the chicken in the cold liquid for 30-60 minutes before placing on heat. This creates a quasi-brining effect that increases moisture retention by up to 15%.
- Acid component: Adding 1-2 tablespoons of acid (white wine vinegar, lemon juice, etc.) helps tenderize the protein structures while adding subtle flavor complexity.
- Flavor infusion enhancement: For deeper flavor penetration, cut shallow diagonal slits across the top surface of each breast before poaching.
- Temperature recovery: If adding multiple chicken breasts, the water temperature will drop. Account for this by starting at the higher end of the temperature range (180°F).
- Rescue technique: If your chicken hasn’t reached 165°F after the rest period, return the covered pan to very low heat for 1-2 minute intervals until temperature is achieved.
- Texture preservation: For serving cold (as in salads), immediately transfer poached chicken to an ice bath for 5 minutes after the rest period to halt cooking and preserve texture.
Storage and Reheating
Refrigeration: Properly poached chicken breasts can be refrigerated in an airtight container for up to 4 days. For maximum moisture retention, store the chicken with 2-3 tablespoons of the strained poaching liquid.
Freezing: Individual poached chicken breasts freeze exceptionally well for up to 3 months. Wrap each breast tightly in plastic wrap, then place in a freezer bag with excess air removed. Thaw overnight in refrigerator before use.
Reheating without drying: The primary challenge with reheating poached chicken is maintaining moisture. For best results:
- Slice chicken into ½-inch thick pieces to increase surface area
- Place in a microwave-safe dish with 1-2 tablespoons of liquid (water, broth, or poaching liquid)
- Cover with microwave-safe plastic wrap, venting one corner
- Heat at 50% power in 30-second intervals until just warmed through (about 90 seconds total)
Alternatively, place chicken in a steamer basket over simmering water for 3-4 minutes until warmed through.
Related Recipes to Try
Once you’ve mastered poached chicken, try these complementary recipes:
- Steamed Chicken Breast Recipe – Another gentle cooking method that preserves moisture while offering different texture attributes
- High Protein Chicken Salads – Perfect applications for your perfectly poached chicken
- Asian-Style Poached Chicken with Ginger and Scallion Sauce
- Mediterranean Poached Chicken with Lemon-Caper Sauce
- Classic Chicken Salad with Herbs and Dijon
- Poached Chicken Enchiladas Verde
FAQs About Poached Chicken Breast Guide
Why shouldn’t I boil my chicken breasts?
Boiling (212°F) causes chicken proteins to contract rapidly and squeeze out moisture. The gentler approach of poaching (170-180°F) allows proteins to coagulate gradually, resulting in up to 25% more moisture retention and significantly improved texture.
Can I use chicken broth instead of water for poaching?
Yes, but with caveats. Using broth adds flavor but can also make the final product overly salty. If using store-bought broth, choose low-sodium varieties and reduce additional salt to ½ teaspoon. For optimal results, use a 50/50 mix of water and broth.
How do I fix rubbery poached chicken?
Rubbery texture typically indicates overcooking. For already overcooked chicken, slice thinly across the grain and incorporate into dishes with moisture-adding components like mayonnaise, yogurt, or vinaigrette. Prevention is key—always use a thermometer and remove chicken from heat when the internal temperature reaches 160°F, as it will reach the safe 165°F during the rest period.
Is it possible to poach frozen chicken breasts?
While possible, it’s not recommended. Frozen chicken creates uneven cooking, with exteriors potentially overcooking before interiors reach safe temperatures. If necessary, increase cooking time by approximately 50% and verify doneness with a thermometer. For better results, thaw chicken in refrigerator overnight before poaching.
Can I reuse the poaching liquid?
Absolutely. The poaching liquid becomes a light stock and can be strained, cooled, and refrigerated for up to 5 days or frozen for 3 months. Use it as a base for soups, risotto, or as a replacement for water when cooking grains for an additional protein and flavor boost.
Conclusion
Mastering the poached chicken breast technique provides a foundational skill that expands your culinary repertoire while delivering exceptional nutritional benefits. The technical precision outlined in this guide—maintaining 170-180°F water temperature, implementing the cold-start method, and allowing for the crucial rest period—creates a foolproof system for consistently tender and juicy results.
The versatility of properly poached chicken cannot be overstated. Beyond immediate serving applications, it provides meal-prep opportunities that maintain quality throughout the week. The neutral yet flavorful profile serves as an excellent protein canvas that adapts to countless global flavor profiles.
As you implement these techniques, remember that the most common pitfall is temperature mismanagement. Investing in a reliable digital thermometer is the single most important factor in achieving consistent results. With practice, this method will become second nature, providing you with perfectly poached chicken breasts for countless healthy, protein-rich meals.
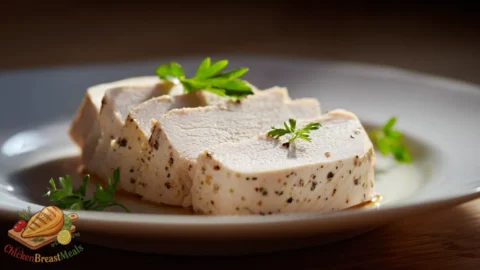
Perfect Poached Chicken Breast
Ingredients
- 4 boneless, skinless chicken breasts (6-8 oz each) preferably air-chilled
- 4 cups cold water filtered recommended
- 1 tablespoon kosher salt Diamond Crystal preferred
- 3-4 sprigs fresh thyme optional
- 2 bay leaves optional
- 1 small onion quartered, optional
- 2 cloves garlic smashed, optional
- 1 tablespoon black peppercorns optional
- 1 lemon halved, optional
Method
- Remove chicken breasts from refrigerator 20-30 minutes before cooking to take the chill off. Pat dry with paper towels. If breasts are very thick (over 1 inch), butterfly or gently pound them to an even thickness of approximately ¾ inch.
- Place chicken breasts in a single layer in a wide, shallow pan. Avoid overcrowding; the breasts should not overlap.
- Add cold water to the pan until breasts are submerged by ½ inch. Add salt and any chosen aromatics.
- Place pan over medium heat and slowly bring the water to the target temperature of 170-180°F (77-82°C). Small bubbles should form around the edges, but the water should never reach a full simmer.
- Once the water reaches 170-180°F, reduce heat to maintain this temperature range. Do not allow the water to boil.
- Cook chicken according to thickness (see timing chart in article). For standard 1-inch thick breasts, this is typically 10-12 minutes.
- When cooking time completes, remove pan from heat, keeping chicken in the liquid. Cover and let rest for 10 minutes to complete carryover cooking.
- Insert a thermometer into the thickest part of the breast. It should register 165°F (74°C).
- Using a slotted spoon or tongs, transfer chicken to a cutting board. Allow to rest for 5 minutes before slicing or storing.
Note
- Never allow the poaching water to reach a full boil; maintain 170-180°F for best results.
- For maximum juiciness, increase salt to 2 tablespoons and refrigerate the chicken in the cold liquid for 30-60 minutes before heating.
- Adding 1-2 tablespoons of acid (white wine vinegar, lemon juice) helps tenderize the protein structures.
- For deeper flavor penetration, cut shallow diagonal slits across the top surface of each breast before poaching.
- If your chicken hasn’t reached 165°F after the rest period, return the covered pan to very low heat for 1-2 minute intervals.
- For serving cold (as in salads), immediately transfer poached chicken to an ice bath for 5 minutes after the rest period.