How to Pan Fry Chicken Breast Without Oil Splatter (Clean & Easy Method)

Learning how to pan fry chicken breast without oil splatter is an essential skill for any home cook who values both safety and culinary excellence. Oil splatters not only create a messy kitchen but can also cause painful burns and potentially damage surrounding surfaces. This common challenge frustrates even experienced cooks.
After testing dozens of techniques in our test kitchen, we’ve developed a foolproof method that delivers perfectly cooked, golden-brown chicken breasts while keeping your stovetop (and yourself) splatter-free. Our approach combines precise temperature control, proper equipment selection, and strategic cooking techniques that minimize moisture-to-oil contact—the primary cause of splattering.
Test-Kitchen Executive Summary
To pan fry chicken breast without oil splatter: thoroughly pat chicken dry (reduces moisture), use room-temperature meat (prevents temperature shock), employ a splatter screen (physical barrier), maintain medium heat (350-375°F), and add aromatics only after initial searing. The Maillard reaction occurs optimally at 300-320°F while avoiding splatter-causing moisture explosions that happen at higher temperatures. Internal temperature must reach 165°F for safety while maintaining juiciness through proper resting.
The Science of Success: Why This Recipe Works
Technical Foundations
Oil splattering occurs when water molecules rapidly vaporize upon contact with hot oil, causing explosive reactions that propel oil droplets outward. Chicken breast, being approximately 75% water by weight, is particularly prone to causing splatter. Our technique addresses this fundamental chemical reaction through three key mechanisms: moisture control, thermal management, and proper equipment utilization. For an even deeper understanding of pan frying techniques and their scientific basis, check out our master guide on pan fried chicken breast which examines the core principles that make this specific anti-splatter technique effective.
The critical temperature zone for effective frying lies between 350-375°F (175-190°C). Below this range, chicken will steam rather than sear; above it, oil becomes increasingly volatile and prone to splattering. By maintaining precise temperature control and implementing moisture-reduction techniques, we can achieve ideal Maillard browning while minimizing dangerous oil projection.
Ingredients and Essential Tools
- 2 boneless, skinless chicken breasts (6-8oz each)
- 1 teaspoon kosher salt
- ½ teaspoon freshly ground black pepper
- ½ teaspoon garlic powder
- ½ teaspoon paprika (optional)
- 2 tablespoons high-smoke-point oil (avocado, canola, or grapeseed)
- 2 tablespoons unsalted butter (optional, added halfway through cooking)
- 2-3 garlic cloves, smashed (optional, added during final minutes)
- Fresh herbs like thyme or rosemary (optional, added during final minutes)
Essential Tools:
- Heavy-bottomed skillet (preferably cast iron or carbon steel for heat retention)
- Splatter screen (mesh size between 0.5-1.0mm for optimal protection)
- Instant-read meat thermometer
- Paper towels (high absorbency grade)
- Tongs (silicone-tipped to prevent piercing)
- Timer or stopwatch
Step-by-Step Instructions
- Prep the Chicken: Remove chicken breasts from refrigerator 20-30 minutes before cooking to allow them to reach room temperature (approximately 65°F/18°C). Pat thoroughly dry with paper towels, applying firm pressure to extract maximum surface moisture. Drying time: 2-3 minutes.
- Season Strategically: Season both sides of chicken with salt, pepper, garlic powder, and paprika (if using). Allow seasoning to adhere for 5 minutes before cooking. Note: Salt draws moisture to the surface, so timing is crucial—don’t season too far in advance.
- Prepare Your Station: Place splatter screen within easy reach. Have all optional aromatics (garlic, herbs) prepped and accessible for later addition. Arrange a resting plate lined with a wire rack nearby.
- Pre-heat Properly: Heat skillet over medium heat for 3-5 minutes until thoroughly heated. Add oil and heat until it shimmers but doesn’t smoke (approximately 350°F/175°C). Test by flicking a tiny droplet of water—it should sizzle gently but not violently pop.
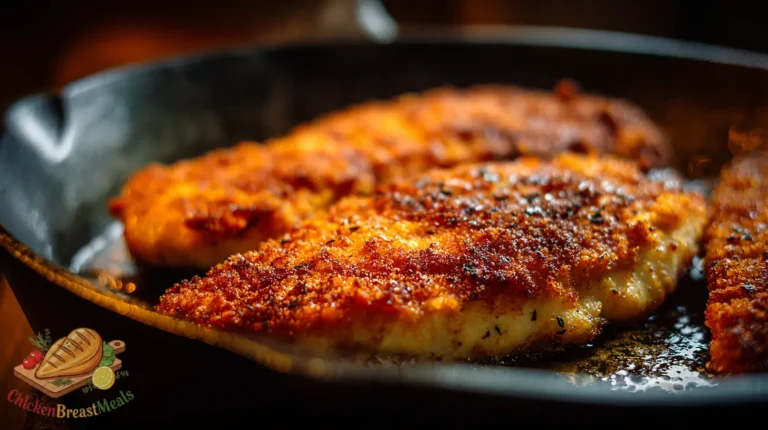
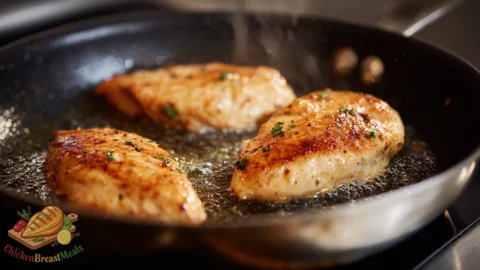
- Initial Contact: Place chicken breasts presentation-side down in the pan away from you (to direct any initial splatter away from your body). Immediately cover with splatter screen. Cook undisturbed for 5-7 minutes.
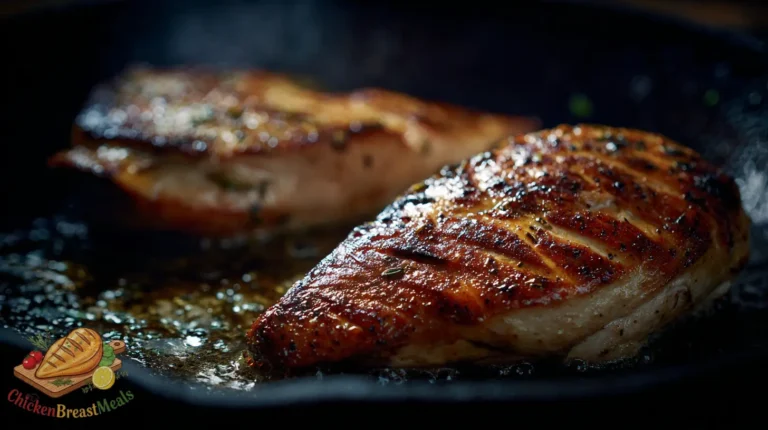
- First Flip: When chicken develops a golden-brown crust and releases easily from the pan (resistance indicates it needs more time), flip using tongs. Re-cover with splatter screen and continue cooking for 5-6 minutes.
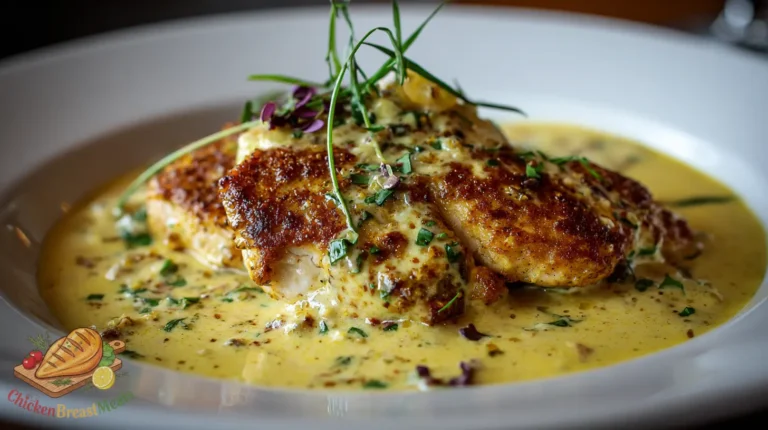
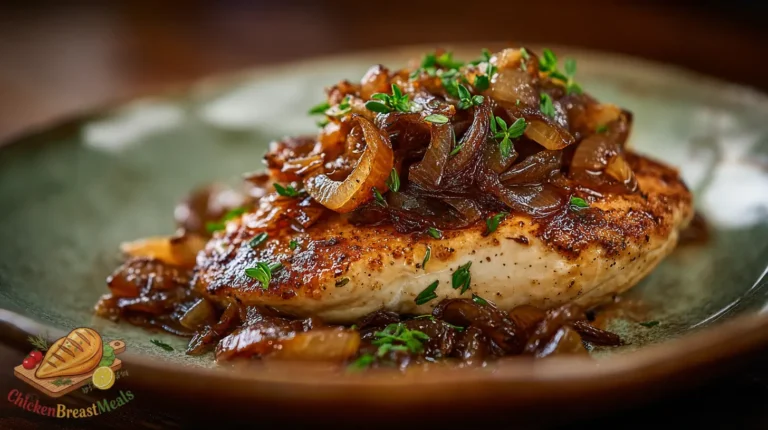
- Optional Flavor Enhancement: If using butter and aromatics, add them during the final 2-3 minutes of cooking. Tilt the pan and use a spoon to baste the chicken with the infused butter mixture.
- Temperature Check: Verify internal temperature has reached 165°F (74°C) at the thickest part. If needed, reduce heat to medium-low and cook for additional 1-2 minute increments, checking temperature between each interval.
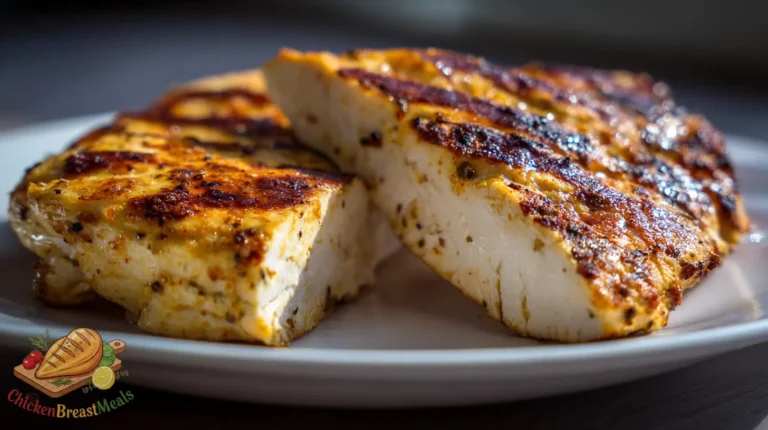
- Rest Properly: Transfer chicken to prepared wire rack. Rest uncovered for 5 minutes to allow for internal temperature equilibration and moisture redistribution.
| Chicken Thickness | First Side Cooking Time | Second Side Cooking Time | Total Cooking Time |
|---|---|---|---|
| Thin (½-inch) | 4-5 minutes | 3-4 minutes | 7-9 minutes |
| Medium (¾-inch) | 5-7 minutes | 5-6 minutes | 10-13 minutes |
| Thick (1-inch+) | 7-8 minutes | 7-8 minutes | 14-16 minutes |
Pro-Tips for Perfect Results
- Temperature Gradient: For chicken breasts thicker than 1 inch, consider butterfly cutting or gentle pounding to 3/4-inch thickness to ensure even cooking without requiring excessive heat that promotes splattering.
- Salt Timing Strategy: Salt draws moisture to the surface of the meat. For optimal results, either salt immediately before cooking (allowing minimal time for water migration) or salt 40+ minutes in advance (allowing time for reabsorption).
- Oil Selection Science: Choose oils with smoke points above 400°F (205°C). Refined avocado oil (520°F/270°C), safflower oil (510°F/265°C), or grapeseed oil (420°F/215°C) offer superior stability compared to olive oil (375-405°F/190-207°C).
- Surface Area Management: Avoid overcrowding the pan—maintain at least 1.5 inches between chicken pieces to prevent temperature drops that extend cooking time and increase moisture release.
- Residual Heat Utilization: Remove chicken from heat when internal temperature reaches 160-162°F (71-72°C); carryover cooking will raise temperature to the safe 165°F (74°C) during resting.
- Butter Addition Timing: If incorporating butter for flavor, add it only after the initial sear when the chicken is approximately 75% cooked through—this prevents the milk solids in butter from burning while still imparting richness.
- Cold Spot Prevention: Rotate your pan 180° halfway through cooking each side if using electric stoves, which often have uneven heating patterns that can create cold spots.
Storage and Reheating
Properly cooked chicken breasts can be stored refrigerated for 3-4 days in airtight containers. For optimal texture preservation, cool completely before refrigerating to minimize condensation inside storage containers, which degrades quality upon reheating.
When reheating, avoid microwave methods which create rubbery texture due to rapid, uneven heating. Instead:
- Low-Temperature Oven Method: Preheat oven to 275°F (135°C). Place chicken on a wire rack over a baking sheet. Heat until internal temperature reaches 130-135°F (54-57°C), approximately 15-20 minutes. This gentle reheating prevents moisture loss.
- Sous Vide Reheat (Premium Method): For those with sous vide equipment, reheat vacuum-sealed chicken at 140°F (60°C) for 25-30 minutes, preserving original texture almost perfectly.
- Pan Reheat Method: For efficiency with texture preservation, slice chicken into 1/2-inch medallions. Heat 1 tablespoon oil over medium-low heat, add chicken, cover, and heat for 2-3 minutes per side with minimal disturbance.
Related Recipes to Try
- Crispy Pan-Fried Chicken Breast – Mastering the breading technique for maximum crispness without excess oil absorption.
- Cast Iron Skillet Chicken Breast – Leveraging optimal heat retention for consistent results.
- One-Pan Lemon Garlic Chicken Breast – Complementary acid and fat balance for flavor-forward results.
- Herb-Butter Basted Chicken Breast – Advanced aromatics infusion techniques.
FAQs About How to Pan Fry Chicken Breast Without Oil Splatter
Why does my chicken always splatter when I pan fry it?
Splattering occurs when moisture rapidly converts to steam upon contact with hot oil. Chicken breast’s high water content (approximately 75%) makes it particularly prone to splattering. Thoroughly patting the chicken dry and maintaining proper oil temperature (350-375°F) significantly reduces splatter potential.
Is a splatter screen really necessary?
While not absolutely required, a splatter screen with 0.5-1.0mm mesh size blocks 85-95% of oil droplets while allowing sufficient steam release to prevent condensation that would impede browning. This represents optimal balance between splatter prevention and proper cooking dynamics.
Can I use olive oil to pan fry chicken without splatter?
Extra virgin olive oil’s relatively low smoke point (325-375°F) makes it suboptimal for high-heat pan frying. The narrow window between effective cooking temperature and smoke point increases risk of both smoking and splattering. Refined oils with smoke points above 400°F (like avocado, safflower, or grapeseed) provide superior temperature stability.
Should I cover the pan completely while cooking to prevent splatter?
Using an airtight lid traps steam, creating a humid environment that prevents proper Maillard browning and crisp texture development. A splatter screen allows steam escape while blocking oil droplets, making it superior to a full lid for texture development.
Does brining chicken help reduce splatter when pan frying?
Counterintuitively, while brining improves juiciness, it can potentially increase splatter by adding moisture to the meat. If using brined chicken, extend the drying time with paper towels to 5-6 minutes and consider slightly reducing cooking temperature by 15-25°F to compensate.
How can I tell if my pan is the right temperature without a thermometer?
The water drop test provides reliable assessment: add a single droplet of water to the preheated pan with oil. If it sizzles gently and evaporates within 1-2 seconds, the temperature is appropriate (around 350-375°F). Violent popping or immediate evaporation indicates excessive heat that will promote splattering.
Conclusion
Mastering the technique of how to pan fry chicken breast without oil splatter represents a fundamental advancement in home cooking proficiency. By implementing the moisture control protocols, thermal management strategies, and equipment optimization outlined in this guide, you’ll consistently achieve restaurant-quality results while maintaining kitchen cleanliness and personal safety.
The core principles—thorough drying, proper temperature control, appropriate equipment selection, and strategic cooking techniques—apply broadly across protein preparations. Once internalized, these concepts form a foundation for advanced culinary applications beyond simple pan frying. Remember that precision in execution yields consistent results: controlling variables such as chicken temperature, moisture content, and cooking environment eliminates the seemingly random nature of oil splatters that frustrate many home cooks.
With practice, this technique becomes second nature, transforming what was once a messy, potentially hazardous cooking method into a reliable, efficient approach to weeknight meal preparation. The result: perfectly cooked chicken with golden-brown exterior, juicy interior, and a splatter-free kitchen that requires minimal post-cooking cleanup.
Splatter-Free Pan Fried Chicken Breast
Ingredients
- 2 boneless, skinless chicken breasts (6-8oz each) at room temperature
- 1 teaspoon kosher salt
- 1/2 teaspoon freshly ground black pepper
- 1/2 teaspoon garlic powder
- 1/2 teaspoon paprika optional
- 2 tablespoons high smoke point oil avocado, canola, or grapeseed
- 2 tablespoons unsalted butter optional, added halfway through cooking
- 2-3 cloves garlic, smashed optional
- 2-3 sprigs fresh herbs thyme or rosemary, optional
Method
- Remove chicken breasts from refrigerator 20-30 minutes before cooking to reach room temperature (approximately 65°F/18°C).
- Pat chicken thoroughly dry with paper towels, applying firm pressure to extract maximum surface moisture.
- Season both sides with salt, pepper, garlic powder, and paprika (if using). Allow seasoning to adhere for 5 minutes.
- Heat a heavy-bottomed skillet over medium heat for 3-5 minutes until thoroughly heated.
- Add oil and heat until it shimmers but doesn’t smoke (approximately 350°F/175°C).
- Place chicken breasts presentation-side down in the pan away from you. Immediately cover with splatter screen.
- Cook undisturbed for 5-7 minutes until golden-brown crust develops and chicken releases easily from pan.
- Flip using tongs, re-cover with splatter screen, and continue cooking for 5-6 minutes.
- If using butter and aromatics, add them during the final 2-3 minutes of cooking. Tilt pan and baste chicken with the infused butter.
- Verify internal temperature has reached 165°F (74°C) at the thickest part.
- Transfer to a wire rack and rest uncovered for 5 minutes before serving.
Note
- Thoroughly drying the chicken is crucial for splatter prevention—moisture is the primary cause of oil projection.
- Maintain medium heat (350-375°F)—too hot causes violent splattering, too cool prevents proper browning.
- For chicken breasts thicker than 1 inch, consider butterfly cutting or gentle pounding to ensure even cooking.
- Cold chicken hitting hot oil creates more splatter—room temperature chicken is essential.
- A splatter screen with 0.5-1.0mm mesh provides optimal protection while allowing steam release.