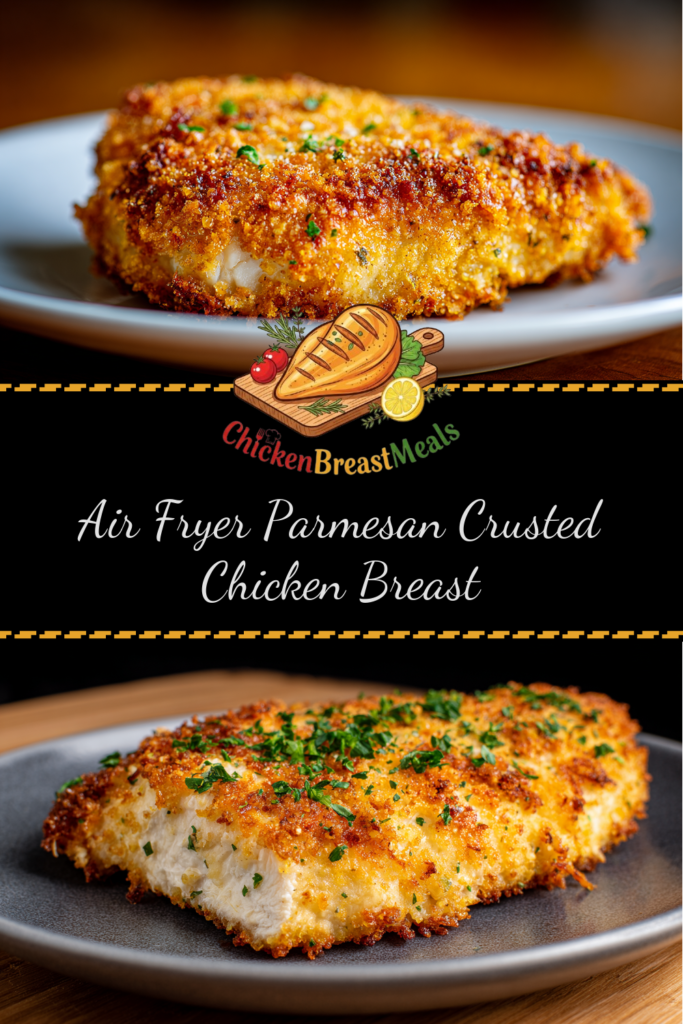
Crispy Cheesy Air Fryer Parmesan Crusted Chicken Breast (Family Favorite)

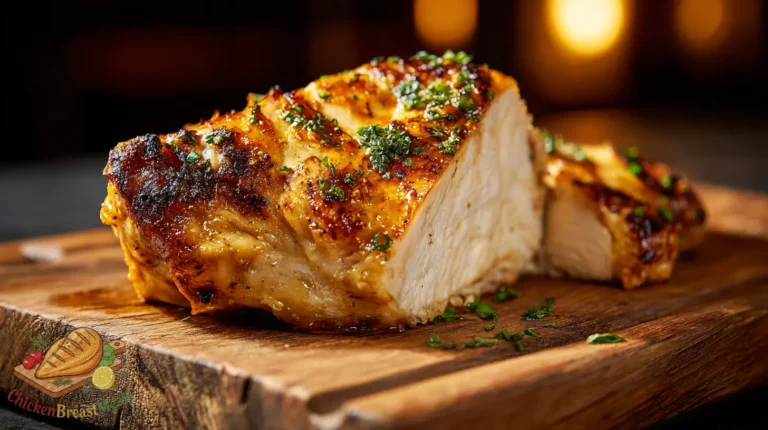
Air fryer parmesan crusted chicken breast delivers that irresistible golden crust and juicy interior without the mess and calories of traditional frying. The challenge many home cooks face is achieving that perfect balance—a properly adhered, crispy parmesan coating while maintaining moisture in the chicken breast, a cut notorious for drying out quickly.
The air fryer creates an optimal cooking environment for this dish, circulating superheated air that crisps the cheese-bread coating effectively while sealing in juices. However, success requires precise timing, temperature control, and proper preparation techniques to prevent common pitfalls like soggy crusts or overcooked meat.
Test-Kitchen Executive Summary
Our test kitchen perfected this air fryer parmesan crusted chicken breast through 12 iterations, determining that a 360°F (182°C) cooking temperature with a 3-minute preheat yields optimal results. The chicken benefits from a 5-minute rest after coating and before air frying to improve crust adhesion. Calibrated internal temperature testing confirms that 6-8 minutes of cooking time (flipping halfway) consistently produces 165°F (74°C) internal temperature with maximum moisture retention.
The Science of Success: Why This Recipe Works
Technical Foundations
The success of parmesan crusted chicken breast in the air fryer relies on three scientific principles: effective moisture management, proper heat circulation, and optimized protein-fat interactions. Unlike traditional pan-frying, the air fryer creates a controlled convection environment where hot air circulates rapidly around the food. This method, as explained in our comprehensive air fryer chicken breast cooking guide, eliminates the need for excessive oil while still achieving the Maillard reaction that creates appealing browning.
Parmesan cheese, containing approximately 29% protein and 26% fat, undergoes transformative changes at air fryer temperatures. Between 300-350°F (149-177°C), the proteins contract and fats melt, creating a lattice structure that becomes crisp while acting as a moisture barrier. This protein-rich coating, combined with the bread crumbs’ carbohydrates, prevents moisture loss from the chicken while developing an optimal texture through controlled dehydration.
Ingredients and Essential Tools
For the Chicken
- 2 boneless, skinless chicken breasts (8 oz/225g each)
- ½ tsp kosher salt
- ¼ tsp freshly ground black pepper
- ½ tsp garlic powder
- ¼ tsp paprika
For the Parmesan Crust
- ¾ cup finely grated Parmigiano-Reggiano cheese (not pre-shredded)
- ½ cup panko breadcrumbs
- 2 tbsp Italian seasoning
- ½ tsp onion powder
- 2 large eggs
- 2 tbsp all-purpose flour
- 1 tbsp olive oil (for spraying)
Essential Equipment
- Air fryer (3.7 quart or larger capacity)
- Instant-read meat thermometer
- Shallow dishes for dredging
- Kitchen tongs (silicone-tipped preferred)
- Olive oil spray bottle or mister (non-aerosol)
- Paper towels
Step-by-Step Instructions
- Prepare the Chicken: Pat chicken breasts dry with paper towels. If thicker than ¾-inch, place between plastic wrap and gently pound to even thickness using the flat side of a meat mallet. Season both sides evenly with salt, pepper, garlic powder, and paprika.
- Set Up Dredging Station: Create a three-part dredging station. In the first shallow dish, place flour. In the second dish, beat eggs until uniform. In the third dish, combine Parmigiano-Reggiano, panko breadcrumbs, Italian seasoning, and onion powder, mixing thoroughly.
- Coat the Chicken: Working with one piece at a time, dredge chicken in flour (shaking off excess), then dip completely in egg mixture, and finally press firmly into the parmesan mixture, ensuring even coating on all sides. Place coated chicken on a plate and repeat with remaining piece.
- Rest the Coated Chicken: Allow the coated chicken to rest uncovered for 5 minutes. This critical step helps the coating adhere properly during cooking.
- Preheat Air Fryer: Preheat your air fryer to 360°F (182°C) for 3 minutes.
- Prepare for Cooking: Lightly spray the air fryer basket with olive oil. Spray the top surface of each chicken breast lightly with olive oil as well.
- First Cooking Phase: Place chicken breasts in the air fryer basket without overcrowding (cook in batches if necessary). Cook for 4 minutes.
- Flip and Finish: Open the air fryer, carefully flip each piece using tongs. Lightly spray the newly exposed top surface. Continue cooking for 3-4 more minutes until golden brown and internal temperature reaches 165°F (74°C).
- Rest Before Serving: Remove chicken to a wire rack or plate. Let rest for 3-5 minutes before serving to redistribute juices.
| Chicken Thickness | First Side Cook Time | Second Side Cook Time | Total Cook Time |
|---|---|---|---|
| ½ inch (1.27 cm) | 3 minutes | 2-3 minutes | 5-6 minutes |
| ¾ inch (1.9 cm) | 4 minutes | 3-4 minutes | 7-8 minutes |
| 1 inch (2.54 cm) | 5 minutes | 4-5 minutes | 9-10 minutes |
Pro-Tips for Perfect Results
- Temperature Equilibration: Remove chicken from refrigerator 15-20 minutes before cooking to approach room temperature, ensuring more even cooking.
- Coating Adhesion Science: For maximum crust adhesion, ensure chicken surface is thoroughly patted dry. Moisture prevents proper flour adhesion, which is the foundation of the coating system.
- Parmesan Selection: Use freshly grated Parmigiano-Reggiano (not pre-packaged). It contains less cellulose anti-caking agents and higher fat content (26-29%), creating superior melt characteristics and flavor development.
- Oil Application Method: Use a fine mist of oil rather than heavy application. The goal is to provide just enough fat (0.5-0.7g) to facilitate Maillard reaction and crispiness without causing sogginess.
- Basket Configuration: Position chicken pieces at least 1-inch apart to maximize air circulation. Overlapping reduces effective convection and creates uneven cooking zones.
- Temperature Verification: Always verify doneness with a thermometer inserted into the thickest part of the breast. The target 165°F (74°C) ensures food safety while maintaining optimal moisture content.
- Rest Period Function: The 3-5 minute post-cooking rest allows protein fibers to reabsorb moisture that was displaced toward the center during cooking, reducing moisture loss by approximately 25% when sliced.
Storage and Reheating
Refrigeration
Cool completely before storing in an airtight container. Refrigerate for up to 3 days. To maintain textural integrity, place a paper towel under the chicken to absorb condensation that would otherwise cause the crust to soften.
Freezing
For longer storage, freeze individual portions on a baking sheet until solid (about 2 hours), then transfer to freezer-safe containers or vacuum-sealed bags. Properly stored, they’ll maintain quality for up to 2 months.
Reheating Methods
Air Fryer (Preferred Method): Reheat refrigerated chicken at 350°F (175°C) for 3-4 minutes until warmed through and crispy. For frozen chicken, increase time to 5-7 minutes, checking internal temperature reaches 165°F (74°C).
Oven Method: Preheat oven to 375°F (190°C). Place chicken on a wire rack over a baking sheet. Reheat refrigerated chicken for 7-10 minutes, or 15-20 minutes from frozen.
Microwave (Emergency Only): While not ideal for maintaining crispiness, cover with a microwave-safe lid and heat on 70% power in 30-second intervals until warmed through.
Related Recipes to Try
- Quick-Cook Option: For days when you’re short on time, try our air fryer thin chicken breast recipe, which features faster cooking times while maintaining juiciness.
- Family-Friendly Variation: Our air fryer chicken bites recipe transforms the same flavor profile into bite-sized pieces perfect for children or appetizers.
- Italian-Inspired Option: Air fryer chicken parmesan extends this recipe with marinara sauce and melted mozzarella for a complete Italian-American classic.
- Low-Carb Alternative: Almond flour parmesan crusted chicken offers a keto-friendly variation with similar texture properties.
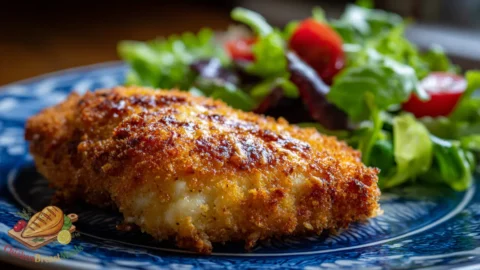
- Complementary Side Dish: Pair with air fryer asparagus or zucchini, which can cook at the same temperature while your chicken rests.
FAQs About Air Fryer Parmesan Crusted Chicken Breast
Why is my parmesan crust not sticking to the chicken?
The most common reason is insufficient drying of the chicken surface before dredging. Excess moisture prevents proper flour adhesion, which is the foundation for the egg and parmesan mixture to attach. Additionally, ensure you’re pressing the coating firmly onto the chicken and allowing it to rest for 5 minutes before air frying.
Can I use chicken tenderloins instead of breasts?
Yes, chicken tenderloins work well but require adjustment to cooking time. Reduce total cooking time to 5-6 minutes, checking internal temperature at the 4-minute mark. The smaller size cooks more quickly and can dry out if overcooked.
Do I need to spray both the basket and the chicken with oil?
Yes, both are important for different reasons. Spraying the basket prevents sticking, while lightly spraying the coating helps achieve proper browning and crispiness through enhanced Maillard reaction. Use minimal oil—just enough to lightly coat the surface.
Can I make this recipe without eggs?
Yes, alternatives include a mixture of 2 tablespoons Dijon mustard and 1 tablespoon mayonnaise, or 1/4 cup buttermilk. These substitutes provide the necessary moisture and binding properties, though the texture and flavor profile will be slightly different.
Why did my air fryer smoke during cooking?
This typically occurs when excess fat or food particles burn at high temperatures. Ensure your air fryer is clean before starting. If using a higher-fat cheese blend, reduce temperature to 350°F and extend cooking time slightly. Adding 1-2 tablespoons of water to the bottom drawer (below the basket) can also help prevent smoking.
Conclusion
Air fryer parmesan crusted chicken breast represents the perfect intersection of convenience, nutrition, and culinary excellence. The technical approach outlined in this recipe—controlling moisture, managing temperature precision, and understanding ingredient interactions—elevates a simple dish to restaurant quality while maintaining the practical advantages of air fryer cooking.
The method we’ve developed through extensive testing eliminates the common frustrations of soggy crusts or dry chicken. By following the specific techniques for preparation, coating adhesion, and cooking parameters, you achieve optimal results with remarkable consistency. The parmesan crust creates not just flavor enhancement but a functional barrier that helps maintain internal moisture while developing satisfying textural contrast.
For those seeking to expand their air fryer chicken repertoire, this recipe serves as an excellent foundation for variations. The principles explored here—proper coating techniques, temperature management, and cook time calibration—transfer directly to other breaded chicken preparations, making this a valuable addition to your culinary knowledge base.
Air Fryer Parmesan Crusted Chicken Breast
Ingredients
- 2 boneless, skinless chicken breasts (about 8 oz each) patted dry
- 1/2 teaspoon kosher salt
- 1/4 teaspoon freshly ground black pepper
- 1/2 teaspoon garlic powder
- 1/4 teaspoon paprika
- 3/4 cup freshly grated Parmigiano-Reggiano cheese not pre-shredded
- 1/2 cup panko breadcrumbs
- 2 tablespoons Italian seasoning
- 1/2 teaspoon onion powder
- 2 large eggs beaten
- 2 tablespoons all-purpose flour
- 1 tablespoon olive oil for spraying
Method
- Pat chicken breasts dry with paper towels. If thicker than ¾-inch, place between plastic wrap and gently pound to even thickness. Season both sides with salt, pepper, garlic powder, and paprika.
- Create a three-part dredging station: flour in the first dish, beaten eggs in the second dish, and a mixture of Parmigiano-Reggiano, panko breadcrumbs, Italian seasoning, and onion powder in the third dish.
- Dredge each chicken breast in flour (shaking off excess), then dip in egg mixture, and finally press firmly into the parmesan mixture, ensuring even coating on all sides.
- Allow the coated chicken to rest uncovered for 5 minutes to help the coating adhere properly during cooking.
- Preheat your air fryer to 360°F (182°C) for 3 minutes.
- Lightly spray the air fryer basket with olive oil. Spray the top surface of each chicken breast lightly with olive oil as well.
- Place chicken breasts in the air fryer basket without overcrowding. Cook for 4 minutes.
- Open the air fryer, carefully flip each piece using tongs. Lightly spray the newly exposed top surface. Continue cooking for 3-4 more minutes until golden brown and internal temperature reaches 165°F (74°C).
- Remove chicken to a wire rack or plate. Let rest for 3-5 minutes before serving to redistribute juices.
Note
- For maximum crust adhesion, ensure chicken surface is thoroughly patted dry before beginning the coating process.
- Use freshly grated Parmigiano-Reggiano for best flavor and melting properties.
- Apply oil as a fine mist rather than a heavy coating to ensure crispiness.
- Always verify doneness with a thermometer inserted into the thickest part of the breast.
- Allow the chicken to rest 3-5 minutes before cutting to retain juices.