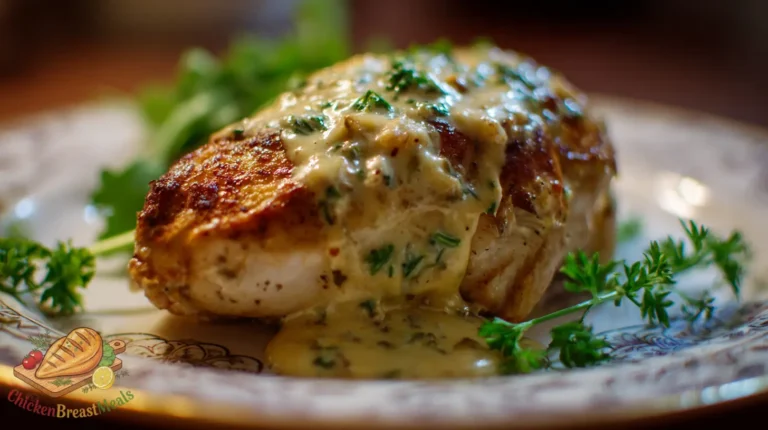
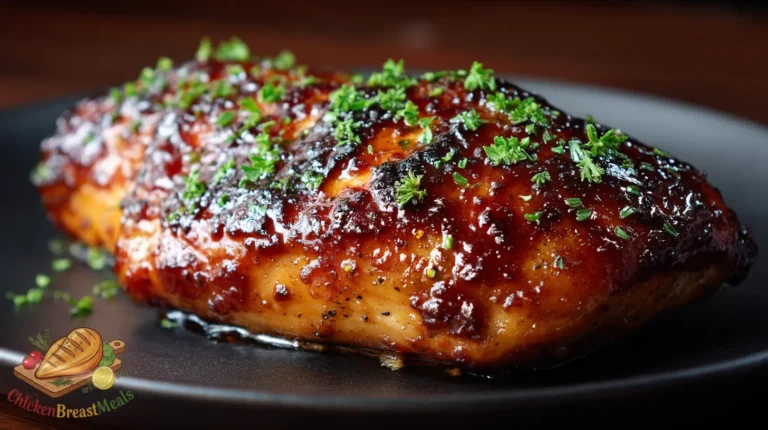
Sweet & Savory Oven Baked Maple Glazed Chicken Breast (Cozy Meal)
Oven baked maple glazed chicken breast represents the perfect marriage of simplicity and gourmet flavor, delivering juicy, tender meat with a caramelized sweet-savory exterior. Achieving the right balance between the maple glaze’s sweetness and complementary seasonings presents a common challenge, as does determining the precise cooking time to prevent the sugar in the glaze from burning while ensuring fully cooked chicken.
Many home cooks struggle with timing the glaze application correctly – apply too early and it may burn; too late and the flavors won’t properly penetrate the meat. Our test kitchen has solved these technical challenges through precise temperature control and a multi-stage glazing approach that guarantees perfect results every time.
Test-Kitchen Executive Summary
This recipe employs a two-stage cooking method with strategic glazing intervals to achieve optimal caramelization without burning. The chicken breast is first brined briefly to ensure moisture retention, then coated with a balanced maple glaze featuring acid components (vinegar, mustard) that cut through sweetness while aiding in tenderization. Temperature benchmarking at 375°F (190°C) provides ideal heat for Maillard reaction development without excessive sugar caramelization, yielding a perfectly glazed exterior and 165°F (74°C) internal temperature.
The Science of Success: Why This Recipe Works
Technical Foundations
The maple glaze’s success relies on careful pH and sugar concentration control. By incorporating apple cider vinegar, we create an acidic environment that both tenderizes the protein structures and prevents the sugars from burning too quickly. This recipe builds upon fundamental techniques explored in our comprehensive oven baked chicken breast guide, particularly the importance of even heat distribution and proper resting protocols.
The technical innovation here is the strategic glazing schedule: an initial base coat that penetrates during the first cooking phase, followed by multiple brush applications that build layers of flavor without excessive caramelization. The inclusion of a small amount of cornstarch in the glaze creates a suspension that helps the mixture adhere to the protein surface more effectively during the cooking process.
Ingredients and Essential Tools
For the Chicken:
- 2 boneless, skinless chicken breasts (8-10 oz each)
- 1 tablespoon kosher salt (for brine)
- 4 cups cold water (for brine)
- 1 teaspoon neutral oil (canola or avocado)
- ½ teaspoon freshly ground black pepper
- ½ teaspoon garlic powder
For the Maple Glaze:
- ¼ cup pure maple syrup (Grade B or Dark Amber preferred for stronger flavor)
- 2 tablespoons Dijon mustard
- 1 tablespoon apple cider vinegar
- 1 tablespoon low-sodium soy sauce
- 1 tablespoon olive oil
- 2 cloves garlic, minced
- ½ teaspoon dried thyme
- ¼ teaspoon cayenne pepper (optional)
- ½ teaspoon cornstarch
- 1 teaspoon cold water (for cornstarch slurry)
Essential Tools:
- Digital meat thermometer
- Rimmed baking sheet
- Wire rack (that fits inside baking sheet)
- Aluminum foil
- Small saucepan
- Silicone basting brush
- Kitchen tongs
- Mixing bowls
Step-by-Step Instructions
- Brine the Chicken: Dissolve 1 tablespoon kosher salt in 4 cups cold water in a large bowl. Submerge chicken breasts and refrigerate for 15-30 minutes (not longer, as this is a quick brine).
- Preheat and Prepare: Position an oven rack in the middle position and preheat to 375°F (190°C). Line a rimmed baking sheet with aluminum foil and place a wire rack on top. Lightly coat the rack with cooking spray.
- Prepare the Chicken: Remove chicken from brine and pat thoroughly dry with paper towels. Rub with neutral oil and season with black pepper and garlic powder.
- Make the Glaze: In a small saucepan, combine maple syrup, Dijon mustard, apple cider vinegar, soy sauce, olive oil, minced garlic, dried thyme, and cayenne (if using). In a separate small bowl, mix cornstarch with 1 teaspoon cold water to form a slurry, then add to the saucepan. Bring to a simmer over medium-low heat, whisking constantly for 3-4 minutes until slightly thickened. Remove from heat and divide into two portions: one for initial glazing and one for basting.
- Initial Glaze Application: Brush the chicken breasts generously with about one-third of the glaze, coating all sides.
- First Baking Phase: Place the chicken breasts on the prepared wire rack, ensuring they don’t touch. Bake for 15 minutes.
- First Basting: Remove from oven and brush with another third of the glaze. Return to oven and bake for 10 minutes.
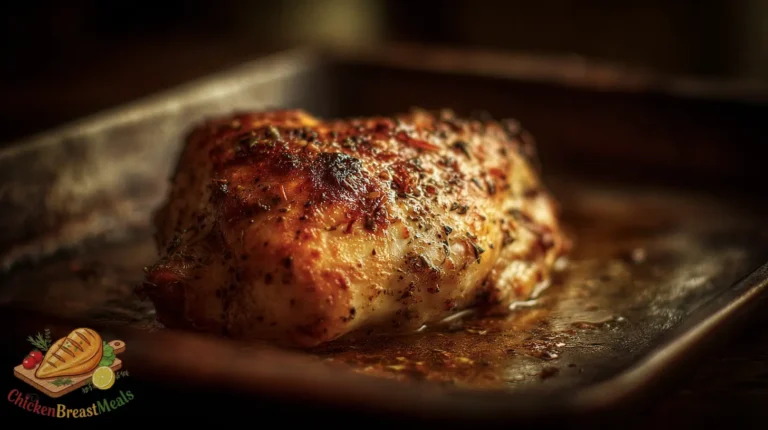
- Final Basting and Cooking: Brush with remaining glaze and continue baking until internal temperature reaches 165°F (74°C), approximately 5-10 more minutes. Total cooking time will be about 30-35 minutes, depending on the thickness of your chicken breasts.
- Rest: Remove from oven and let rest for 5-7 minutes to allow juices to redistribute and internal temperature to stabilize.
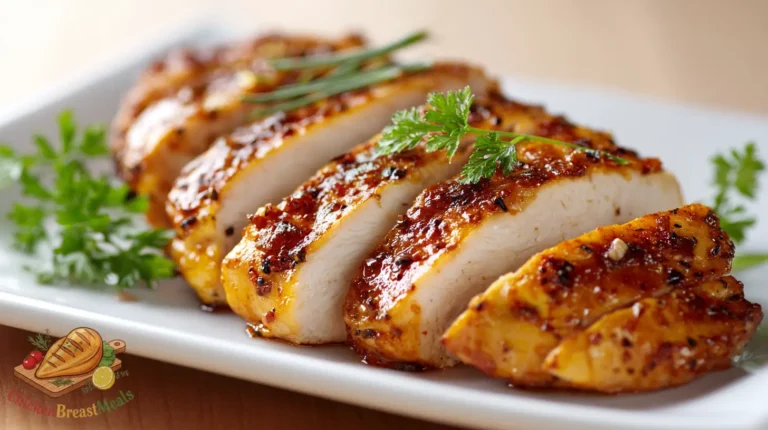
- Slice and Serve: Cut chicken against the grain and serve immediately, spooning any accumulated juices over the sliced meat.
| Cooking Stage | Time | Temperature | Action |
|---|---|---|---|
| Brining | 15-30 minutes | Refrigerated | Submerge in salt solution |
| First Bake | 15 minutes | 375°F (190°C) | After initial glaze |
| Second Bake | 10 minutes | 375°F (190°C) | After second glaze application |
| Final Bake | 5-10 minutes | 375°F (190°C) | Until internal temp reaches 165°F |
| Resting Period | 5-7 minutes | Ambient temperature | Covered loosely with foil |
Pro-Tips for Perfect Results
- Even Thickness: For consistent cooking, use a meat mallet to pound the thicker end of each breast to match the thinner end, aiming for approximately 3/4-inch uniform thickness.
- Glaze Viscosity Control: If your glaze becomes too thick during cooking, add 1-2 teaspoons of warm water to achieve the proper brushing consistency. Too thin? Simmer for an additional 1-2 minutes.
- Temperature Management: If you notice the glaze beginning to darken too quickly, lower the oven temperature to 350°F (175°C) and extend cooking time by 5 minutes.
- Maple Syrup Selection: Grade B or Dark Amber maple syrup contains more minerals and stronger flavor compounds that stand up to cooking better than lighter grades.
- Application Technique: When glazing, use a dabbing motion rather than brushing strokes to prevent removing previous layers of glaze.
- Pan Juices Rescue: If the glaze drips onto the foil and begins to burn, carefully replace the foil between basting stages to prevent smoke and bitter flavors.
- Resting Method: For optimal moisture retention, rest chicken under a tent of foil that doesn’t directly touch the glazed surface.
Storage and Reheating
Refrigeration: Store cooled chicken in an airtight container for up to 3 days. The glaze will firm up when cold but will soften again when reheated.
Freezing: While possible, freezing isn’t ideal for this recipe as the texture of the glaze may degrade. If necessary, wrap individual portions tightly in plastic wrap, then foil, and freeze for up to 1 month.
Reheating Protocol:
- Oven (Preferred): Preheat to 325°F (165°C). Place chicken in a baking dish with 2 tablespoons of chicken broth or water, cover with foil, and heat for 12-15 minutes until internal temperature reaches 130°F (55°C).
- Microwave: Place chicken on a microwave-safe plate with a damp paper towel over it. Heat in 30-second increments at 70% power until warmed through. This method is faster but may slightly compromise texture.
- Skillet: For a superior crust revival, slice the chicken first, then warm in a non-stick skillet over medium-low heat with 1-2 teaspoons of neutral oil.

Related Recipes to Try
- Oven Baked Dijon Mustard Chicken Breast – If you enjoy the tangy component in this maple glazed recipe, this Dijon-forward variation offers a more pronounced savory profile.
- Oven Baked Bone-In Chicken Breast – For those seeking even juicier results, try applying this maple glaze technique to bone-in cuts which provide natural insulation during cooking.
- Oven Baked Honey Garlic Chicken Breast – Another sweet-savory glaze variation with a different flavor profile that uses similar techniques.
- Maple Balsamic Chicken Breast – A sophisticated variation that incorporates aged balsamic vinegar for deeper complexity.
- Spicy Maple Sriracha Chicken – For heat-lovers, this variation amplifies the cayenne and adds sriracha to the glaze for significant spice.
FAQs About Oven Baked Maple Glazed Chicken Breast
Why is my maple glaze burning before the chicken is fully cooked?
This typically happens when the oven temperature is too high or when the glaze is applied too early. Follow our staged glazing approach, and if you notice early darkening, reduce oven temperature by 25°F and loosely cover with foil while continuing to cook until the chicken reaches 165°F.
Can I use honey instead of maple syrup?
Yes, honey can be substituted in equal amounts. Note that honey browns faster than maple syrup, so you may need to reduce your oven temperature to 350°F (175°C) and extend cooking time by 5-7 minutes.
Is the brining step really necessary?
While not absolutely essential, the brief brining significantly improves moisture retention in the lean breast meat. If skipping, increase the amount of oil rubbed on the chicken to 2 teaspoons and expect slightly drier results.
How can I make this recipe dairy-free and gluten-free?
This recipe is naturally dairy-free. To make it gluten-free, substitute tamari for the soy sauce and verify your Dijon mustard is gluten-free certified.
Can I make the glaze in advance?
Yes, the glaze can be prepared up to 3 days ahead and stored in an airtight container in the refrigerator. Warm gently before using to restore brushable consistency.
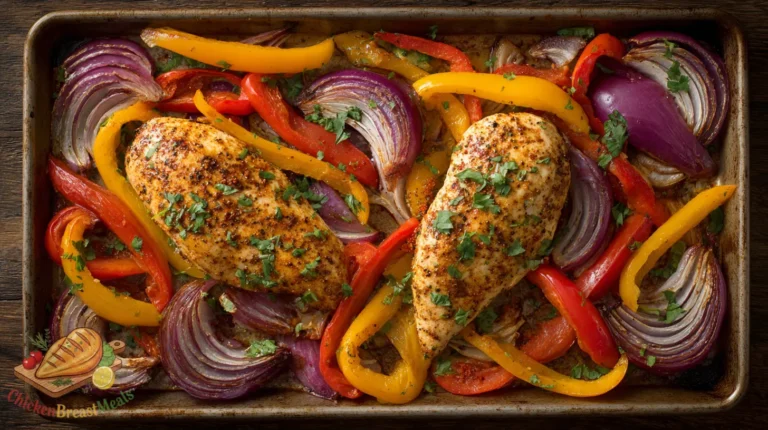
What side dishes pair best with maple glazed chicken?
Side dishes that complement the sweet-savory profile include roasted Brussels sprouts with balsamic, wild rice pilaf, or sweet potato mash. A bitter green salad with vinaigrette also provides excellent contrast.
Conclusion
Mastering oven baked maple glazed chicken breast requires attention to specific technical details that many recipes overlook. The multi-stage glazing approach outlined here solves the common problem of burnt sugar while ensuring maximum flavor penetration and juicy, perfectly cooked meat.
The balance of sweet maple syrup with acidic and savory components creates a depth of flavor that elevates this dish beyond simple glazed chicken. By controlling cooking temperatures, application timing, and glaze consistency, you can achieve restaurant-quality results consistently.
This recipe demonstrates how proper technique transforms basic ingredients into an impressive meal. The principles learned here—particularly regarding sugar caramelization control and moisture preservation—can be applied across numerous cooking applications. Whether for a weeknight dinner or special occasion, this method delivers professional results with relatively simple execution.

Oven Baked Maple Glazed Chicken Breast
Ingredients
- 2 boneless, skinless chicken breasts (8-10 oz each)
- 1 tablespoon kosher salt for brine
- 4 cups cold water for brine
- 1 teaspoon neutral oil canola or avocado
- 1/2 teaspoon freshly ground black pepper
- 1/2 teaspoon garlic powder
- 1/4 cup pure maple syrup Grade B or Dark Amber preferred
- 2 tablespoons Dijon mustard
- 1 tablespoon apple cider vinegar
- 1 tablespoon low-sodium soy sauce
- 1 tablespoon olive oil
- 2 cloves garlic minced
- 1/2 teaspoon dried thyme
- 1/4 teaspoon cayenne pepper optional
- 1/2 teaspoon cornstarch
- 1 teaspoon cold water for cornstarch slurry
Method
- Dissolve 1 tablespoon kosher salt in 4 cups cold water in a large bowl. Submerge chicken breasts and refrigerate for 15-30 minutes (not longer, as this is a quick brine).
- Position an oven rack in the middle position and preheat to 375°F (190°C). Line a rimmed baking sheet with aluminum foil and place a wire rack on top. Lightly coat the rack with cooking spray.
- Remove chicken from brine and pat thoroughly dry with paper towels. Rub with neutral oil and season with black pepper and garlic powder.
- In a small saucepan, combine maple syrup, Dijon mustard, apple cider vinegar, soy sauce, olive oil, minced garlic, dried thyme, and cayenne (if using). In a separate small bowl, mix cornstarch with 1 teaspoon cold water to form a slurry, then add to the saucepan. Bring to a simmer over medium-low heat, whisking constantly for 3-4 minutes until slightly thickened. Remove from heat and divide into two portions: one for initial glazing and one for basting.
- Brush the chicken breasts generously with about one-third of the glaze, coating all sides.
- Place the chicken breasts on the prepared wire rack, ensuring they don’t touch. Bake for 15 minutes.
- Remove from oven and brush with another third of the glaze. Return to oven and bake for 10 minutes.
- Brush with remaining glaze and continue baking until internal temperature reaches 165°F (74°C), approximately 5-10 more minutes. Total cooking time will be about 30-35 minutes, depending on the thickness of your chicken breasts.
- Remove from oven and let rest for 5-7 minutes to allow juices to redistribute and internal temperature to stabilize.
- Cut chicken against the grain and serve immediately, spooning any accumulated juices over the sliced meat.
Note
- For consistent cooking, pound chicken to even 3/4-inch thickness
- If glaze becomes too thick, add 1-2 teaspoons warm water; if too thin, simmer 1-2 minutes longer
- If glaze darkens too quickly, lower oven to 350°F and extend cooking time
- Use Dark Amber maple syrup for stronger flavor
- Use a dabbing motion when applying glaze to prevent removing previous layers
- Replace foil if glaze drippings start to burn
- Rest chicken under foil tent that doesn’t touch the glazed surface