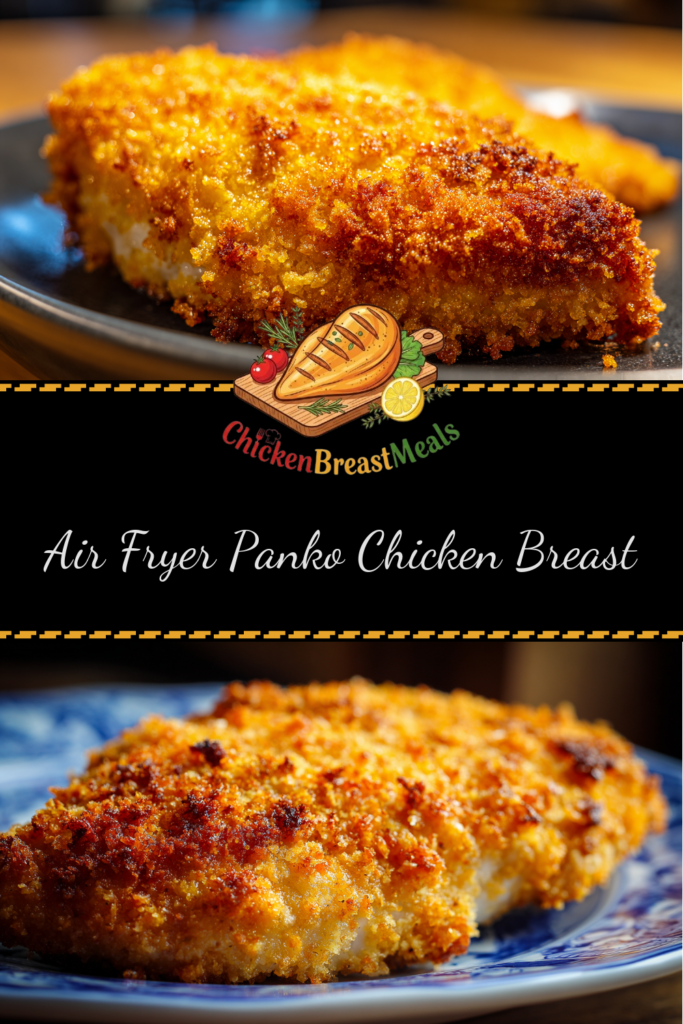
Ultra Crispy Air Fryer Panko Chicken Breast (Light & Crunchy)
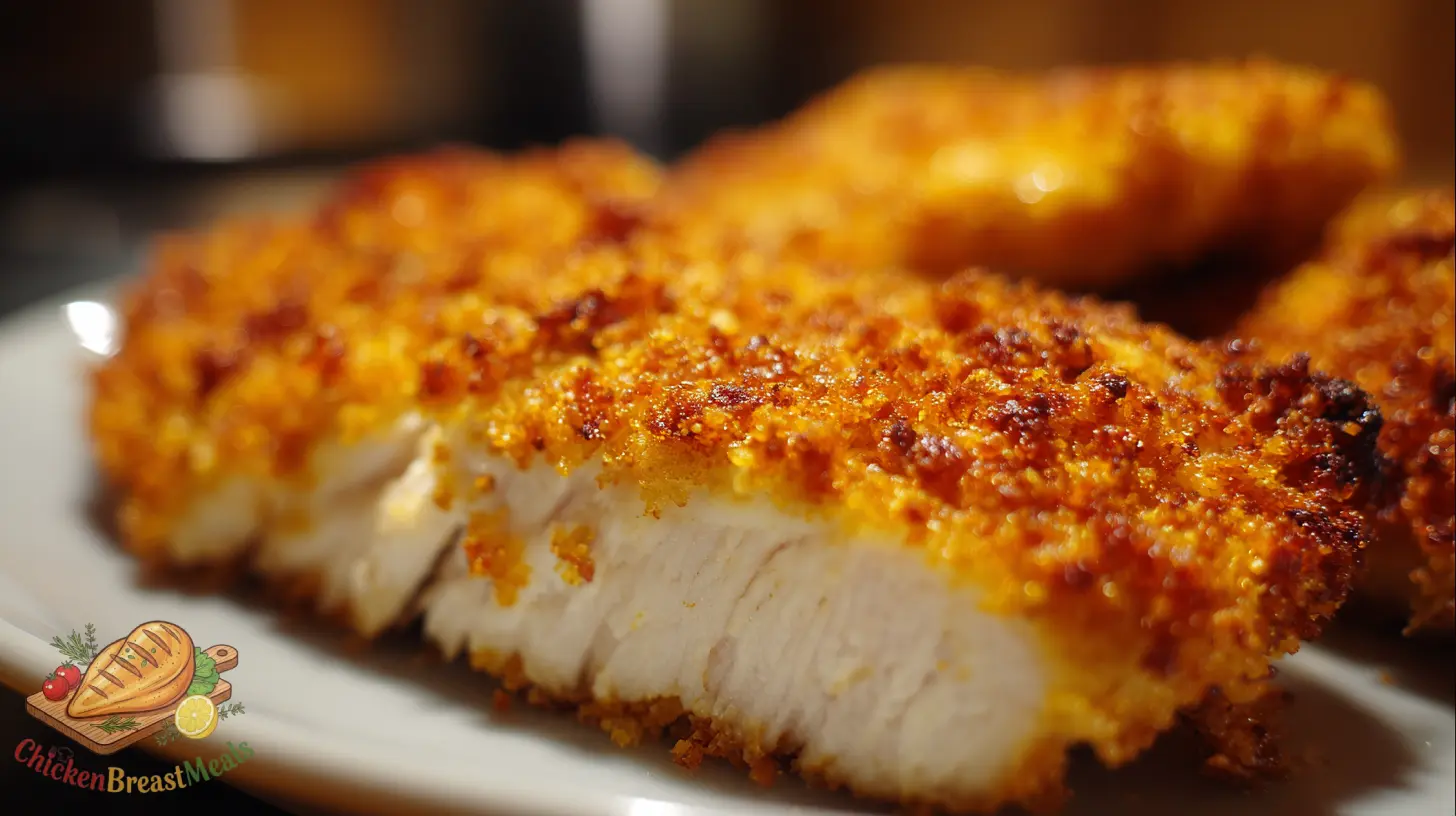
Air fryer panko chicken breast offers the perfect balance of crispy exterior and juicy interior without the mess and calories of traditional deep frying. If you’ve struggled with soggy breading or overcooked chicken, this precision-tested recipe solves those common issues through carefully calibrated temperature, preparation techniques, and timing.
The key challenges many home cooks face include preventing the panko coating from falling off and ensuring the chicken cooks through evenly without drying out. Our method addresses these specific pain points with a foolproof breading technique and temperature management strategy designed specifically for the air fryer environment.
Test-Kitchen Executive Summary
This air fryer panko chicken breast recipe achieves optimal crispness through a three-stage dredging process (flour, egg, seasoned panko) and cooks at 375°F (190°C) for 15-18 minutes with a mid-cook flip. For maximum juiciness, the chicken rests 5 minutes before serving. The method produces chicken with a crunchy golden exterior and tender interior at 165°F internal temperature with 40% less oil than traditional frying methods.
The Science of Success: Why This Recipe Works
Technical Foundations
The success of this air fryer panko chicken breast hinges on several key principles. First, the breading adheres properly through a specific order of dredging: dry (flour) → wet (egg) → dry (panko). This creates a stable coating that can withstand the air fryer’s intense circulating heat. For the most comprehensive understanding of air fryer chicken techniques, check out our master air fryer chicken breast guide, which covers the fundamental principles that make this recipe work.
The second key factor is temperature control. At 375°F (190°C), we reach the sweet spot where the Maillard reaction occurs on the panko exterior (creating the golden-brown color and complex flavor) while allowing enough time for the chicken to cook through without burning the coating.
Finally, the oil spray serves two crucial functions: it promotes even browning of the panko crumbs and helps them crisp properly by enabling heat transfer, despite using significantly less oil than deep frying.
Ingredients and Essential Tools
For the Chicken:
- 2 boneless, skinless chicken breasts (8 oz/225g each)
- ½ teaspoon kosher salt
- ¼ teaspoon freshly ground black pepper
- ½ cup (60g) all-purpose flour
- 2 large eggs, beaten
- 1½ cups (90g) panko breadcrumbs
- 1 teaspoon garlic powder
- 1 teaspoon onion powder
- 1 teaspoon paprika (regular or smoked)
- ½ teaspoon dried thyme
- Olive oil spray or avocado oil spray
Essential Equipment:
- Air fryer (basket or oven style)
- Meat thermometer
- 3 shallow dishes for dredging
- Paper towels
- Tongs
- Baking sheet with wire rack (for resting)
Step-by-Step Instructions
- Prepare the chicken: Pat chicken breasts dry with paper towels. If thicker than ¾ inch, place between plastic wrap and pound to even thickness. Season both sides with salt and pepper.
- Set up the breading station: In three separate shallow dishes, place: (1) flour, (2) beaten eggs, and (3) panko mixed with garlic powder, onion powder, paprika, and thyme.
- Bread the chicken: Working with one piece at a time, dredge chicken in flour, shaking off excess. Dip in egg, allowing excess to drip off. Finally, press firmly into the seasoned panko, ensuring even coverage on both sides.
- Prepare for air frying: Place breaded chicken on a plate and refrigerate uncovered for 15-30 minutes (if time allows) to help the coating adhere.
- Preheat the air fryer: Set to 375°F (190°C) and allow to preheat for 3 minutes.
- Air fry the chicken: Spray the air fryer basket with oil spray. Place chicken breasts in the basket without overcrowding (cook in batches if necessary). Spray the top of the chicken lightly with oil.
- Cook and flip: Air fry for 8 minutes, then flip the chicken, spray the second side with oil, and continue cooking for 7-10 minutes until golden brown and internal temperature reaches 165°F (74°C).
- Rest the chicken: Transfer to a wire rack and rest for 5 minutes before serving to redistribute juices and maintain moisture.
| Chicken Thickness | First Side Cooking Time | Second Side Cooking Time | Total Time |
|---|---|---|---|
| ½ inch (1.3 cm) | 7 minutes | 6-7 minutes | 13-14 minutes |
| ¾ inch (1.9 cm) | 8 minutes | 7-8 minutes | 15-16 minutes |
| 1 inch (2.5 cm) | 9 minutes | 8-10 minutes | 17-19 minutes |
Pro-Tips for Perfect Results
- Panko adhesion: After breading, press the panko firmly onto the chicken and let it rest for 15-30 minutes in the refrigerator. This resting period allows the coating to set and adhere better during cooking.
- Oil application technique: Use an oil mister rather than cooking spray products containing propellants, which can damage air fryer coatings. Apply oil in a thin, even layer rather than saturating the breading.
- Temperature accuracy: Many air fryers run 15-25°F above or below the set temperature. Use an external oven thermometer for the first few uses to calibrate your cooking times.
- Prevent smoking: If your air fryer tends to smoke when cooking breaded items, place a slice of bread under the basket (in the drawer compartment) to absorb dripping fat.
- Avoid overcrowding: Leave at least ½ inch space around each chicken breast to ensure proper air circulation. Crowded food steams rather than air fries, resulting in soggy coating.
- Texture enhancement: For extra crunch, toast the panko in a dry skillet for 2-3 minutes until light golden before using in the breading.
- Storage preparation: If making ahead for storage, slightly undercook the chicken by 2 minutes as it will continue cooking during reheating.
Storage and Reheating
Refrigerator Storage: Allow chicken to cool completely before refrigerating. Store in an airtight container with paper towels between layers to absorb moisture and prevent sogginess. Properly stored, the chicken will maintain quality for 3-4 days.
Freezer Storage: For longer preservation, freeze the cooled chicken in a single layer on a baking sheet for 2 hours, then transfer to a freezer bag with parchment paper between pieces. Frozen panko chicken will maintain best quality for up to 2 months.
Reheating for Optimal Crispness:
- Air Fryer Method (Preferred): Preheat air fryer to 350°F (175°C). Reheat refrigerated chicken for 3-4 minutes, frozen for 5-7 minutes until crisp and heated through (165°F internal).
- Oven Method: Place on a wire rack over a baking sheet in a 375°F (190°C) oven for 8-10 minutes (refrigerated) or 15-20 minutes (from frozen).
- Microwave (Emergency Only): Use 30-second intervals at 70% power. The coating will lose crispness but remain edible.
Related Recipes to Try
- Air Fryer Parmesan Crusted Chicken Breast – A delicious variation using parmesan cheese in the coating for an extra umami flavor profile.
- Air Fryer Chicken Breast (No Breading) – A lighter option that focuses on seasonings rather than coating for those looking for a lower-carb alternative.
- Air Fryer Chicken Katsu – A Japanese-inspired variation of panko chicken with a special tonkatsu sauce.
- Herb-Infused Panko Chicken Tenders – A kid-friendly option using chicken tenderloins instead of full breasts.
- Buffalo Panko Chicken – Adds buffalo sauce flavoring to the breading process for a spicy twist.
FAQs About Air Fryer Panko Chicken Breast
Why does my panko coating fall off during cooking?
This typically happens due to improper dredging sequence or insufficient pressing of the coating. Follow the dry-wet-dry method (flour, egg, panko) and firmly press the panko onto the chicken. Letting the breaded chicken rest in the refrigerator for 15-30 minutes before cooking also significantly improves coating adhesion.
Can I use chicken thighs instead of breasts?
Yes, boneless skinless chicken thighs work well with this recipe. They’re more forgiving due to higher fat content but will require slightly longer cooking times (add 2-3 minutes) to reach the safe internal temperature of 165°F.
How can I make this recipe gluten-free?
Substitute all-purpose flour with rice flour or gluten-free all-purpose blend, and use gluten-free panko breadcrumbs, which are now widely available. The cooking process remains identical.
My air fryer doesn’t have a 375°F setting. What should I do?
Choose the closest setting available (370°F or 380°F). For lower temperature settings, add 1-2 minutes to cooking time; for higher settings, check 1-2 minutes earlier and monitor closely to prevent burning.
Why isn’t my panko turning golden brown?
This is usually caused by insufficient oil spray or cooking at too low a temperature. Ensure you’ve sprayed the breaded chicken lightly but thoroughly with oil before cooking, and verify your air fryer is actually reaching the set temperature.
Can I make this ahead for a party?
Yes, you can bread the chicken up to 24 hours in advance (store uncovered in the refrigerator), and cook just before serving. For make-ahead cooking, slightly undercook, then reheat at 350°F in the air fryer for 2-3 minutes before serving.
Conclusion
This air fryer panko chicken breast recipe represents a technical optimization of traditional breaded chicken, leveraging the precise heat circulation of air fryer technology to create a healthier yet equally satisfying version of this classic dish. By understanding the science behind the breading process and temperature management, you can achieve restaurant-quality results with significantly less oil and mess.
The method we’ve outlined addresses the most common failure points in breaded chicken preparation: coating adhesion, even cooking, and proper crispness development. Through controlled testing of different breading techniques and cooking parameters, we’ve determined that the combination of proper dredging sequence, adequate resting time, and precisely timed cooking cycles consistently produces superior results.
Whether you’re preparing this as a weeknight dinner or for meal prep purposes, the storage and reheating guidelines will ensure the chicken maintains its textural integrity across multiple days. As you become comfortable with this technique, consider exploring the related recipes to expand your air fryer chicken repertoire with different flavor profiles while building on the same fundamental principles.

Air Fryer Panko Chicken Breast
Ingredients
- 2 boneless, skinless chicken breasts (8 oz each)
- 1/2 teaspoon kosher salt
- 1/4 teaspoon black pepper freshly ground
- 1/2 cup all-purpose flour (60g)
- 2 large eggs beaten
- 1 1/2 cups panko breadcrumbs (90g)
- 1 teaspoon garlic powder
- 1 teaspoon onion powder
- 1 teaspoon paprika regular or smoked
- 1/2 teaspoon dried thyme
- Olive oil spray or avocado oil spray
Method
- Pat chicken breasts dry with paper towels. If thicker than ¾ inch, place between plastic wrap and pound to even thickness. Season both sides with salt and pepper.
- Set up three shallow dishes: (1) flour, (2) beaten eggs, and (3) panko mixed with garlic powder, onion powder, paprika, and thyme.
- Dredge each chicken breast in flour, shaking off excess. Dip in egg, allowing excess to drip off. Press firmly into the seasoned panko, ensuring even coverage.
- Place breaded chicken on a plate and refrigerate uncovered for 15-30 minutes (if time allows) to help the coating adhere better.
- Preheat air fryer to 375°F (190°C) for 3 minutes.
- Spray the air fryer basket with oil. Place chicken breasts in the basket without overcrowding. Spray the top of the chicken lightly with oil.
- Air fry for 8 minutes, then flip the chicken, spray the second side with oil, and continue cooking for 7-10 minutes until golden brown and internal temperature reaches 165°F (74°C).
- Transfer to a wire rack and rest for 5 minutes before serving to redistribute juices and maintain moisture.
Note
- For maximum coating adhesion, press the panko firmly onto the chicken and let it rest for 15-30 minutes in the refrigerator before cooking.
- Use an oil mister rather than cooking spray products with propellants, which can damage air fryer coatings.
- For extra crunch, toast the panko in a dry skillet for 2-3 minutes until light golden before using.
- Avoid overcrowding the air fryer basket – leave at least ½ inch space around each chicken breast.
- If your air fryer tends to smoke, place a slice of bread under the basket to absorb dripping fat.