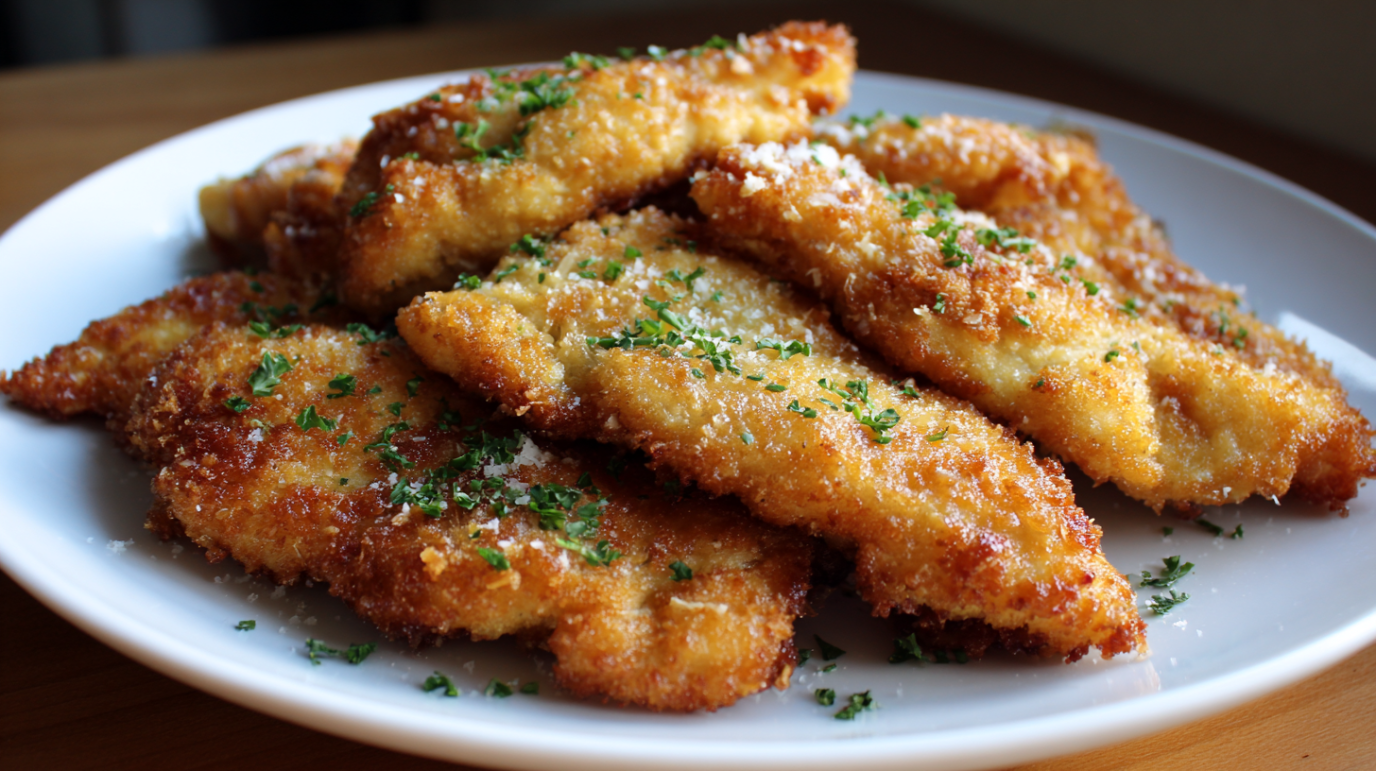
Crispy Pan Fried Chicken Breast: Ultimate 20-Minute Recipe
Crispy pan fried chicken breast is one of those magical dishes that transforms an ordinary weeknight into something special. The golden, crunchy exterior gives way to juicy, tender meat inside—creating that perfect textural contrast we all crave. This recipe delivers restaurant-quality results with simple ingredients you likely already have in your kitchen.
Why This Recipe Stands Out
What makes this pan fried crispy chicken breast recipe exceptional is the double-dredging technique and the addition of Parmesan cheese in the egg mixture. The cheese creates tiny pockets of flavor that crisp up beautifully, while the pounding technique ensures even cooking for perfectly juicy chicken every time. Whether you’re cooking for a family dinner or meal prepping for the week, this foolproof method will become your new go-to.
Essential Ingredients for Crispy Pan Fried Chicken Breast
Chicken and Seasonings
- 4 boneless, skinless chicken breasts
- 2-3 medium cloves garlic, smashed and minced
- ¾ teaspoon salt, or to taste
- ½ teaspoon black pepper
Coating Mixtures
- 2 cups (240g) all-purpose flour
- 2 teaspoons garlic powder
- 2 teaspoons onion powder
- 5 large eggs
- 4 oz (¾ cup/100g) freshly grated Parmesan cheese
- 2 teaspoons dried or fresh parsley
- ½ teaspoon salt
Frying Ingredients
- ½ cup (8 tablespoons/100g) neutral cooking oil (vegetable or canola)
- ¼ cup (4 tablespoons/57g) butter
Ingredient Tip: For extra depth of flavor, add ½ teaspoon of smoked paprika to your flour mixture or swap regular Parmesan for aged Pecorino Romano cheese.
How to Make Perfect Crispy Pan Fried Chicken Breast
Preparing the Chicken Cutlets
- Place each chicken breast on a cutting board and, with your palm on top, carefully slice horizontally through the middle to create two thin cutlets.
- Place the cutlets between sheets of plastic wrap or parchment paper.
- Gently pound with a meat tenderizer or rolling pin to create even thickness throughout (about ½-inch thick) – don’t pound too thin.
- Transfer chicken to a large bowl and add minced garlic, salt, and black pepper, mixing well to coat evenly.
- If time permits, you can refrigerate the seasoned chicken in an airtight container for up to 4 hours for enhanced flavor.
Setting Up Your Dredging Station
- In a shallow bowl, combine flour, garlic powder, and onion powder, mixing well.
- In another shallow bowl, whisk together eggs, grated Parmesan cheese, parsley, and salt until well combined.
- Prepare a large tray or clean surface by dusting it lightly with flour to hold your dredged chicken.
- Set up a wire rack over a baking sheet (optionally lined with foil or parchment) to place cooked chicken.
The Perfect Double-Dredge Technique
- Designate one hand as your “dry hand” and one as your “wet hand” to prevent a sticky mess.
- Using your dry hand, place one chicken cutlet in the flour mixture, pressing firmly to coat completely.
- Shake off excess flour, then transfer to the egg mixture using your dry hand.
- With your wet hand, turn the chicken to coat thoroughly in the egg mixture.
- Return chicken to the flour mixture with your wet hand.
- Use your dry hand to press additional flour onto the chicken, embracing any small clumps that form (these create extra crispiness).
- Transfer dredged chicken to your floured surface and repeat with remaining cutlets.
Cooking Tip: The double-dredging technique creates a substantially crispier exterior than a single dredge. Those little flour clumps that form when the wet egg mixture hits the dry flour create extra texture and crunch points in the final dish.
Frying Your Crispy Chicken to Golden Perfection
- Heat a large skillet over medium heat (not medium-high, which can burn the exterior while leaving the interior raw).
- Add 4 tablespoons of oil and 2 tablespoons of butter to the pan, allowing the butter to melt completely (about 1 minute).
- Once the oil is hot but not smoking, carefully add chicken cutlets in a single layer, working in batches to avoid overcrowding.
- Cook without stirring for about 5 minutes, until the bottom turns golden brown.
- Use tongs to carefully flip each piece, then cook for another 5 minutes until golden brown and cooked through (internal temperature of 165°F).
- Transfer cooked chicken to the prepared wire rack, arranging in a single layer.
- For the second batch, add the remaining 4 tablespoons of oil and 2 tablespoons of butter to the pan, then repeat the cooking process (the second batch will cook slightly faster, about 4 minutes per side).
- Optional: Sprinkle hot chicken with a little extra salt and grated Parmesan cheese while still hot.
Expert Tips & Delicious Variations for Crispy Pan Fried Chicken Breast
Achieving Maximum Crispiness
- Allow your oil to reach proper temperature before adding chicken – test with a small piece of bread that should sizzle immediately.
- Never overcrowd your pan – this lowers the oil temperature and creates steam, resulting in soggy coating.
- Place finished chicken on a wire rack rather than paper towels to prevent the bottom from steaming and losing crispness.
- For extra crunch, add 2 tablespoons of cornstarch to your flour mixture.
- Let the chicken rest 5 minutes after cooking to allow the juices to redistribute throughout the meat.
Flavor Variations to Try
- Italian-Style: Add 1 tablespoon of Italian seasoning to your flour mixture and serve with marinara sauce for dipping.
- Spicy Kick: Mix 1 teaspoon of cayenne pepper into your flour mixture for heat-loving palates.
- Herb-Crusted: Add 1 tablespoon each of fresh rosemary and thyme to your egg mixture for an aromatic twist.
- Lemon Pepper: Add 1 tablespoon of lemon zest to your flour and finish with a squeeze of fresh lemon juice after cooking.
Proper Storage & Reheating for Crispy Pan Fried Chicken Breast
Storing Leftover Chicken Breast
Store leftover crispy pan fried chicken breast in an airtight container in the refrigerator for up to 3 days. For best results, place paper towels between layers to absorb excess moisture and help maintain crispiness. While you can freeze this chicken for up to 2 months, be aware that the coating won’t be quite as crispy after thawing.
Reheating for Maximum Crispiness
To reheat your pan fried crispy chicken breast without losing that wonderful crunch, avoid the microwave at all costs. Instead, place chicken on a wire rack over a baking sheet and reheat in a 350°F oven for 10-15 minutes until heated through. Alternatively, you can reheat in an air fryer at 350°F for 3-5 minutes for exceptionally crispy results. A quick 2-minute re-fry in a hot skillet can also restore much of the original crispiness.
Serving Your Crispy Pan Fried Chicken Breast
Perfect Pairings and Side Dishes
This crispy pan fried chicken breast recipe pairs beautifully with lighter sides to balance the richness. Try serving with a crisp kale salad dressed with lemon vinaigrette, roasted vegetables, or creamy mashed potatoes. For a complete meal, consider garlic green beans, coleslaw, or a side of macaroni and cheese for true comfort food appeal. A squeeze of fresh lemon juice over the chicken just before serving adds brightness that cuts through the richness.
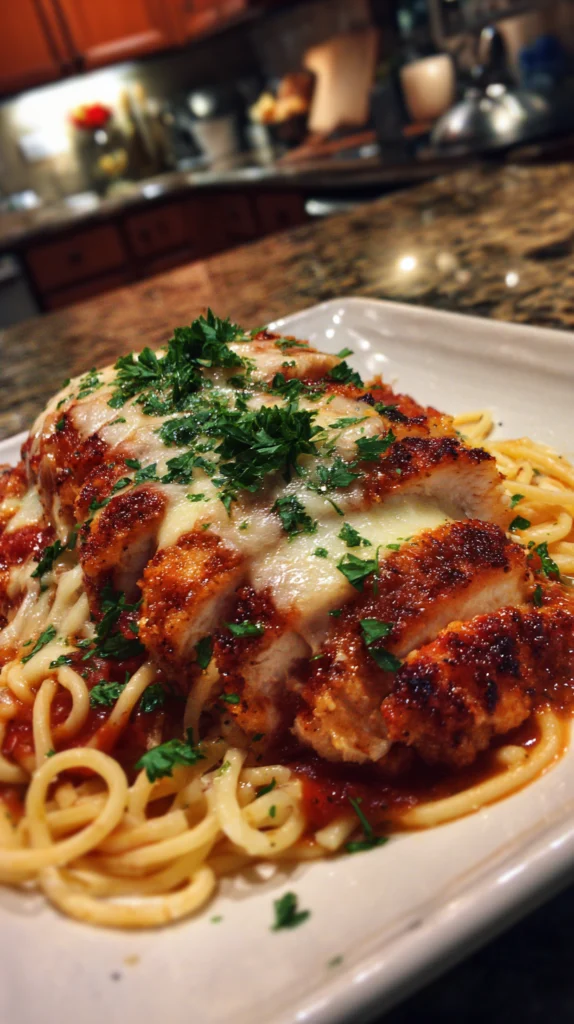
Make It a Meal
Transform your crispy chicken breast into a complete meal by slicing it and serving atop pasta with marinara sauce for a quick chicken parmesan, or slice and add to a sandwich with lettuce, tomato and mayo for an elevated lunch option. This versatile protein also works beautifully sliced over Caesar salad or tucked into wraps with fresh vegetables and your favorite sauce.
Craving more? Try these other simple and flavorful Pan Fried recipes:
➤ Perfect Pan Fried Boneless Chicken Breast: Juicy, Golden & Flavorful Every Time
FAQs About Crispy Pan Fried Chicken Breast
-
Why isn’t my pan fried chicken breast getting crispy?
The most common reasons for chicken not crisping properly are oil that’s not hot enough, overcrowding the pan, or not thoroughly drying the chicken before dredging. Make sure your oil sizzles when testing with a small piece of bread, cook in batches, and pat chicken dry with paper towels before starting the dredging process.
-
Can I make crispy pan fried chicken breast without flour?
Yes! For a gluten-free alternative, substitute the all-purpose flour with cornstarch, rice flour, or a gluten-free flour blend. For a lower-carb option, try ground pork rinds mixed with grated Parmesan cheese for the outer coating. The texture will be slightly different but still deliciously crispy.
-
How do I keep my breading from falling off the chicken?
To ensure your breading adheres properly: 1) Make sure chicken is completely dry before dredging, 2) Press the flour firmly onto the chicken during dredging, 3) Let the dredged chicken rest for 5-10 minutes before frying to allow the coating to adhere, and 4) Don’t flip the chicken too early – wait until a golden crust has formed before turning.
Conclusion
Why This Will Become Your Go-To Chicken Recipe
This crispy pan fried chicken breast recipe delivers that perfect combination of crispy exterior and juicy interior that makes fried chicken so irresistible. With simple ingredients and straightforward techniques, you can create restaurant-quality results in your own kitchen in just about 20 minutes of actual cooking time. The double-dredging method and Parmesan-enhanced egg wash elevate this from basic to extraordinary.
Mastering the Art of Pan Frying
Once you’ve mastered this crispy pan fried chicken breast technique, you’ll find endless ways to customize it to suit your taste preferences and meal plans. The skills you develop here—properly cutting and pounding chicken, creating a flavorful dredge, and achieving the perfect fry—will serve you well in countless other cooking adventures. Whether for a family dinner or meal prep for the week, this crispy chicken breast pan fried to golden perfection will always be a crowd-pleaser.
Want more ideas? Explore all our chicken breast recipes for inspiration.
Crispy Chicken Breast Pan Fried
Ingredients
Equipment
Method
- Carefully cut each chicken breast in half horizontally to make 8 thin slices or cutlets.
- Pound cutlets between plastic wrap until even thickness (about ½-inch).
- Season chicken with garlic, ¾ teaspoon salt, and pepper.
- In one bowl, combine flour, garlic powder, and onion powder.
- In second bowl, whisk eggs, Parmesan, parsley, and remaining ½ teaspoon salt.
- Dredge each chicken piece first in flour, then egg mixture, then back in flour, pressing to adhere.
- Heat half the oil and butter in skillet over medium heat.
- Cook chicken in batches, 5 minutes per side until golden brown and internal temperature reaches 165°F.
- Rest cooked chicken on wire rack and repeat with remaining oil, butter and chicken.
- Optional: Sprinkle with extra salt and Parmesan while hot.
Notes
- For maximum crispiness, don’t overcrowd the pan and maintain proper oil temperature.
- Store leftovers in an airtight container in the refrigerator for up to 3 days.
- Reheat in a 350°F oven on a wire rack for 10-15 minutes to restore crispiness.
